Sleeklens Landscape Lightroom presets review

As per my Ethics guidelines I must state I have not purchased this particular product.
At time of writing I am not currently affiliated with or sponsored by Sleeklens.
I was recently asked to provide a review and my thoughts on a product by Sleeklens called “Through the Woods” a Lightroom landscape preset workflow. Sleeklens produces presets and action sets for Adobe Lightroom and Photoshop CC.

After agreeing to a few terms to do the review the product arrived as a zip file
That contained several PDF files

  • A  readme first PDF that contained a link to the installation video and an invitation to join the sleeklens Facebook group for support.
  • A TOS (Terns of Service)
  • A how to install PDF
  • A “recipe” list to help get you started.

And two folders, one for brushes with 30 brushes in it and one for presets containing 51 presets.

Install was mostly painless especially if you follow the included instructions.
I in my usual way managed to get it exactly backwards and had to do a bit of uninstalling/reinstalling.

To Install presets follow the video linked in the install document.
To Install brushes follow the instructions in the install document.

Screen grab of the presets and brushes that are a part of the Through the Woods collection
Hint: all images in this post can be clicked to open a new window/tab with a larger easier to see image.

sample of what the presets and brushes look like

sample of what the presets and brushes look like

The sample shows one of my annoyances with Adobe Lightroom, while LR presets can be grouped into collapsible sections. LR brushes cannot, you are always scrolling through huge lists to get to the one you want which is invariable at the bottom of the list.

To test what the presets and brushes could do I selected one very over exposed image, one very under exposed image and one with an average exposure but mediocre image.
In all cases these images would normally have seen the big X of rejection in Lightroom.
Here are the images and the “recipes” as Sleeklens calls them that I used to process the three images.


Image 1 – The Over Exposed image.

Original on left, Sleeklens processed on right.

Over exposed image processed with sleeklens workflow

Over exposed image processed with sleeklens workflow

Over exposed image processed with sleeklens workflow

Over exposed image processed with sleeklens workflow

The Recipe used

Presets
All in one – Dawn rising
Exposure – Less Highlights
Color – Deep blue sky
Tone/Tint – Color pop
Polish – Sharpen

Brushes
brighten (applied to land and reflection)
brighten (applied to  land)
add golden sun (reduced effect, applied to  land and reflection)

Manual settings
Manually reduced Saturation to +19 and Vibrance to +40
Manually adjusted cyan cast in sky towards blue
Manually reset black/white points


Image 2 The Under Exposed image.

Original on left, Sleeklens processed on right.

under egxposed image sleeklens preset test

under exposed image sleeklens preset test

The Recipe used

Presets
Base – High Dynamic Range
Base – Morning light
Exposure – Less Highlights
Exposure – Brightnen Shadows
Tone/Tint – color pop
Polish – Sharpen

Brushes
Brighten (applied to land)
Add golden sun (reduced effect, applied to portions of land and reflection)

Graduated filter
cloud definition

Manual settings
Manually reduced Saturation to +19 and Vibrance to +21
Manually reset black/white points


Image 3 The average exposure average image.

Original on left, Sleeklens processed on right.

average exposure image sleeklens preset test

average exposure image sleeklens preset test

The Recipe used

Presets
All In One – Shine into Sunset
Polish – Sharpen

Brushes
Brighten (applied to land)
Add golden sun (applied to  land)
Darken (applied to a tiny portion of land)

Graduated filter
cloud definition

Manual settings
Manually reduced Clarity to +30 Saturation to +30 and Vibrance to +5
Manually slightly increased overall exposure and reset black/white points


My thoughts

Now for my thoughts on the Sleeklens workflow presets and using presets in general.
The Sleeklens presets and brushes do seem to work well to help process images, or at least get you to a good starting point for heavier editing fairly quickly.
In many cases I had to dial back the effects as they seemed to be a bit over the top.
But that is probably common for development presets as every image is different and would need some custom adjustments tinkering.
They did have an interesting stack able capability where you could apply as many of the presets as you wished and they did not affect each other.

What is a preset

A preset or brush is just a Lightroom setting (or settings) you come up with that you then save with a name. Which you can then recall with a single click and apply it to other images as needed thus saving you some time.
With purchased presets like the Sleeklens collections you are buying settings created by people skilled at editing and processing images.
You are getting some of their expertise instead of trying to re-invent the wheel by creating your own preset sets.

You still need to learn to use presets and brushes properly and take the time to apply them to each image, there is no magic auto fix!

My personal workflow

The “presets” I do use daily are smart collection workflow driven.
They are based on moving images from import to distribution in a quick timely fashion with very little actual image development to try to recover a flawed image.
The majority of my own under/over/mediocre images usually meet the rejection trashcan very quickly.

With the “Through the Woods” landscape presets there is the option of trying a few presets to adjust or recover some of my images if so desired.
Though even in Lightroom it now seems possible to repaint an images so it looks quite different from what was originally photographed.

Links to Sleeklens products and services if you are interested

This is the “Throught The Woods” presets I used for this review Landscape Lightroom Presets
Sleeklens products Lightroom Presets
Sleeklens also offers a Photo editing service

And finally Sleeklens has a fairly active and informative YouTube Channel

New year and Finally done with all the changes!

lookng up through the trees

Looking up

New Year and DONE!

Finally just in time for the new year,
completed all the major changes to the image library.

It really nice to have Lightroom handling most tasks almost automatically, including uploading selected images to the Photoshelter image bank,  my 500px feed and even facebook (yuck on that one.)
So went forth and bought myself a new decent ASUS ProArt PA248Q IPS monitor to celebrate,  unfortunately it really shows how bad the color was on my supposedly calibrated Samsung  23″ consumer grade monitor.

However the 2 monitors are working out very well side by side with the Asus being used to display the image being worked on  while the Samsung is handling the text and menus.

Also picked up a NetGear Push2TV over the holidays, it lets me wireless display anything my Google  tablet & laptop see over  Miracast or WiDi,  will be great for shows & seminars  (Now hoping some nice Santa brings me a 1080p projector next year. )

Awesome new theme to compliment all the changes

painted chairs

Awesome new theme!

Trying out the brand new just released “Awesome” WordPress theme by Graph Paper Press.
It really is very interesting and quite different than what you normally see!
As usual for a GPP theme it has been very easy to implement and configure  to just the way you want it.

I suspect the hardest part will be to get our main image bank on Photoshelter to at least appear to integrate with this new awesome theme!

Right now it is a bit of a jarring switch going from the main GPP site over to our photo image bank and back again.

Workflow and library major changes in the works

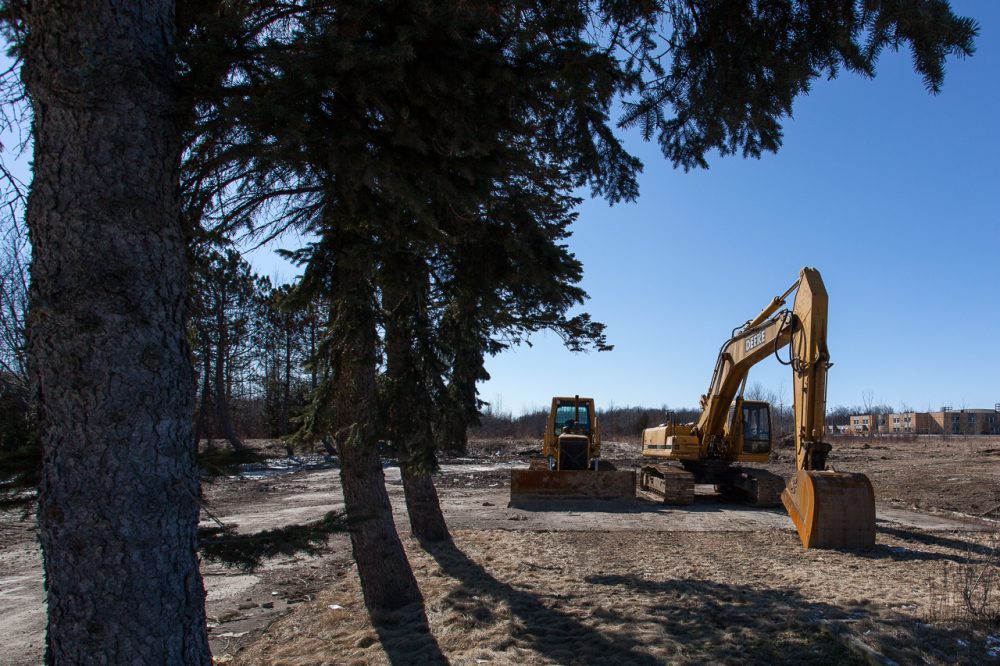
Construction

Construction equipment

DAM (Digital Asset Management)

DAM is a pain at best of times.
Trying to hammer out workable, reliable and consistent backup schemes, file naming conventions, image workflow, key wording, meta data is not easy.
And as you keep changing things to hopefully simplify your work, you usually ending up with a lot of inconsistencies in the old image archives.

At least until I attended Gavin Gough’s Photo Workflow seminar at Photoshelter and watched his video on Vimo

Conveniently linked for you here:

Workflow changes

The first changes to my workflow include adding a new step to my backup strategy, and completely renaming all my existing image files! Would be a big ouch except it is actually turning out to be a painless process!

Good thing was my existing backup strategy was already good (decades of working as a IT analyst pays off) but even here I added a new step to separately backup all the raw image files automatically as they come in to an external drive using a neat feature of lightroom I did not know even existed!

At the moment all my existing working image files are being renamed to a consistent naming convention (one day at a time, just so I can watch what is happening) and converted to DNG format files.
All being done automatically and being handled by LightRoom itself!
Yes, I did take a full snapshot backup of the entire image library before beginning this process, so reverting in case something “not good” happens would be easy.

This is one eBook package (includes a lot of extra like pre-built Lightroom presets to speed things up) that can really help your workflow especially if you are handling large volumes of image files.

Wish I had found it sooner, going back and converting 10’s of thousands of digital image files to the new consistent workflow format from many years of shooting is going to take a bit of time.

The next step will be to implement the tagging process to keep track of where individual images are within the workflow process.