Long Exposure Filter Tests
Filter tests or what happens when I find myself out with a new Hoya R72 infrared filter, a Lee big stopper filter and a piece of shade 10 welding glass.
If you want to see any of the images larger just “Right click” them and select “View Image” in FireFox or “open image in new tab” in chrome and safari!
Internet Explorer does not follow normal web standards and this option is missing.
The filter tests
| Original – unprocessed | |
| Lee Big Stopper Original | Processed |
| Welding Glass shade 10 Original | Processed |
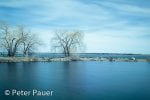
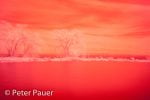
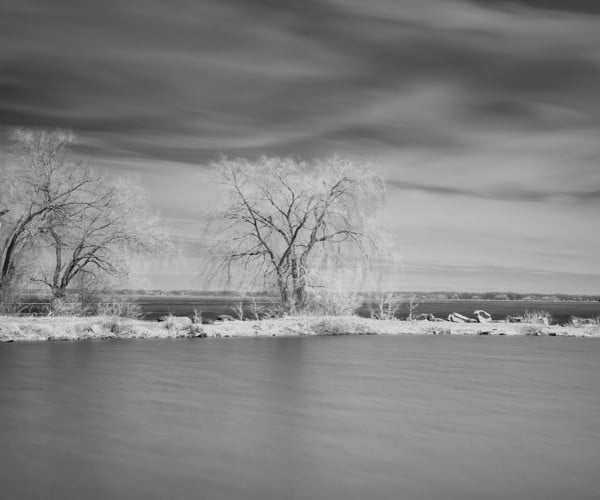
| Infrared Hoya R72 Original | Processed |
I was out testing my newly acquired Hoya Infrared R72 filter from Vistek .
When I decided to also test out how a piece of shade 10 welding glass (8$) would handle the scene when used as a long exposure filter, something I had read about on other sites.
A use it definitely was not intended for.
All image processing was done in Adobe CC LightRoom 5
The first image pair for comparison is from a Lee Big Stopper 10 stop neutral density filter.
As expected the color from this excellent filter was very good to start with, and color correction and processing was very easy.
The second image pair is from the shade 10 welding glass.
It is not intended for passing true color and it introduced a very strong green cast that was fairly difficult but not impossible to semi color correct.
The glass does alter and remove some of the light spectrum so getting to a true color balance my be tricky to next to impossible
It however is passable and at 8$ could be used in a pinch for anyone wanting to try out long exposure photography before deciding on spending the 150$ or so for the real thing.
The shade 10 welding glass also appears to be about 3 to 4 stops darker than the real 10 stop photo filter.
As such initially calculating exposure was completely hit and miss using the histogram to get to something passable.
The third image pair is from the Hoya R72 infrared filter.
It cuts out most of the entire visible light spectrum and thus cannot be color corrected at all.
Resulting images must be processed as monochromes. False color image can be produced with appropriate post processing techniques.
High point of an infrared filter is it works best in the hot mid day sun, when normal photography produces lackluster images.
Attaching the shade 10 welding glass
NOTE: if you try this we are not responsible for anything at all that might happen.
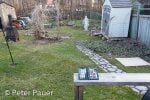
It is easy if you have a petal lens hood, we just used a couple of rubber bands!
Just be very careful not to touch and damage the front element of your lens with the welding glass if you decide to try this,
it is much safer to first mount a cheap UV filter to the lens to protect it from any accidental contact with the heavy glass.
Attaching welding glass
| mounting welding glass, with rubber bands | |
|---|---|
In the next image set I included an x-rite colorchecker passport (really helps with getting images color corrected!) to try to show the effects of the deep green filtration.
If you examine the color chiclets closely you will see that some of them have gone very dark indicating the colors that have been completely removed by the filter,
which makes getting back to a accurate color balance very difficult if not impossible.
Color corecting welding glass
| Original no filters | welding glass | processed |


